Marbled Card and Envelope Set
Every once in a while Studio Calico challenges the Creative Team to think up or find techniques and give them a new spin. My latest tutorial went live a few days ago (the post is linked in the footer under source) and it will teach you how to make a pretty card and envelope set with a DIY marbled pattern.
I've done this before with wallpaper paste and oil paint but this one is much easier to do. You just need shaving cream of the foam variety and any kind of paint, spray mist, watercolor or a reader on the Studio Calico blog had the idea of doing this with reinkers. Here's how to make this:
First, cut some card bases or notecards down to size and get your envelopes ready. I head tried with my regular #80 white cardstock and it didn't hold up all too well against the moist. If you have watercolor paper this works much better.
You can click on any of the smaller images to open them bigger in a light box.
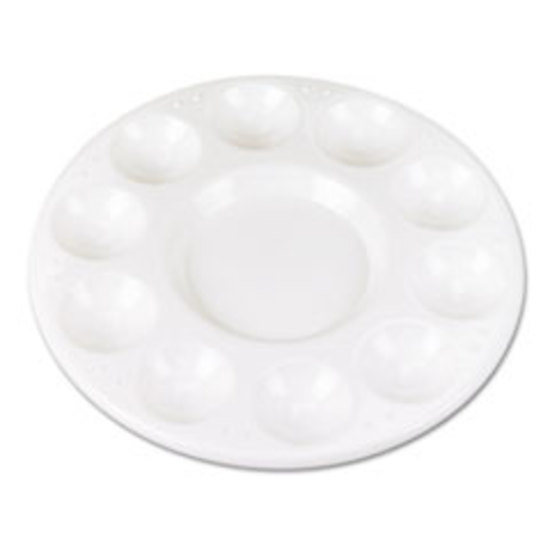
When you're ready, you got to prepare an old plate with a layer (I put on maybe 1/2") of the foam shaving cream. You can use an old plastic gift card to spread the shaving cream evenly on the plate.
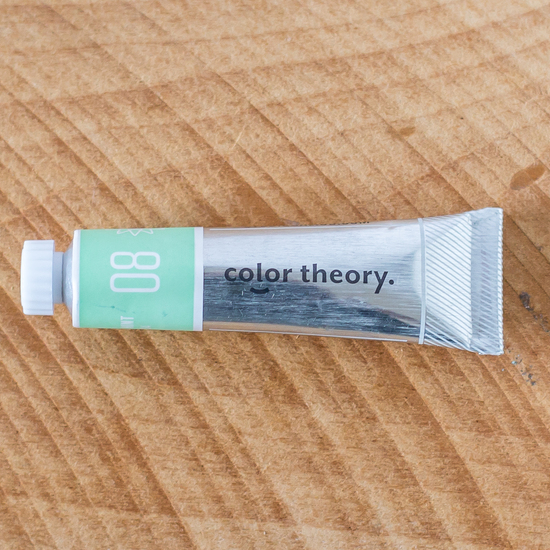
Next, you want to get your paints out and sprinkle/splatter a few different colors on top of the shaving cream. As I've mentioned before, you can basically use any paint you have. I've successfully tried with acrylic paints, Mister Huey's and Neocolor II watercolors and all looked lovely on paper. In order to create your marbled pattern, use a small paint brush or craft stick and swirl it around in the foam/paint mix.
Once you like the pattern in the foam, you're ready to transfer the paint onto paper. To do this, just press a piece of cardstock or watercolor paper well into the surface of the colored shaving cream, then lift the paper up.
The color sets right into the paper and you can start right off to scrape of the shaving cream from your paper and set your finished artwork aside to dry. Then just repeat the process with the envelope flap so it coordinates with your card. Also you don't need to use a fresh layer of shaving foam every time. It lasts for quite a few sets if you keep in the same color range.
Once you are finished and the paper is completely dry, you can go ahead and decorate the paper and envelopes with stamps, die-cuts and stickers to your liking.
I told you it's easy - in fact, I think this is something you could try with kids, too, if you use, e.g., waterbased or even food coloring. If you give this a try, please link me up in the comments. I'd love to see it!
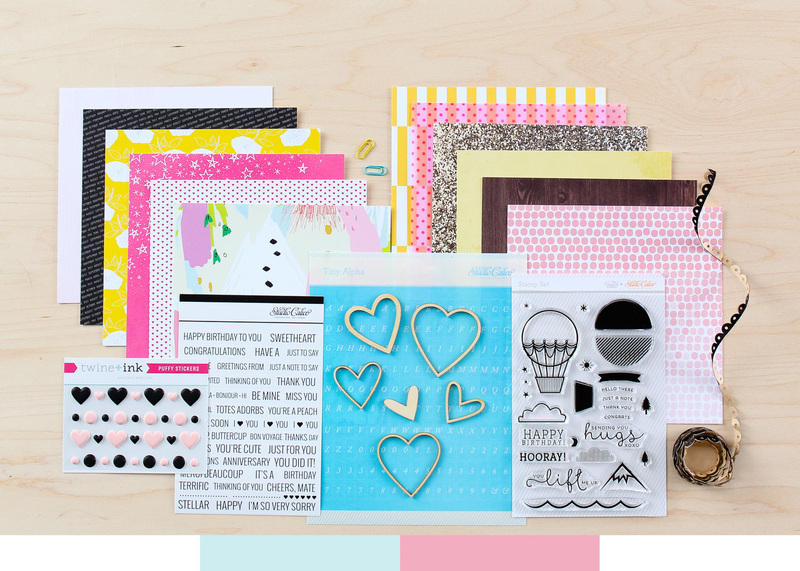
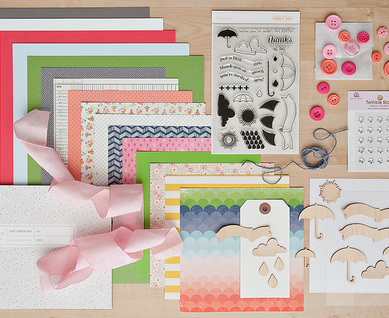
Supplies: